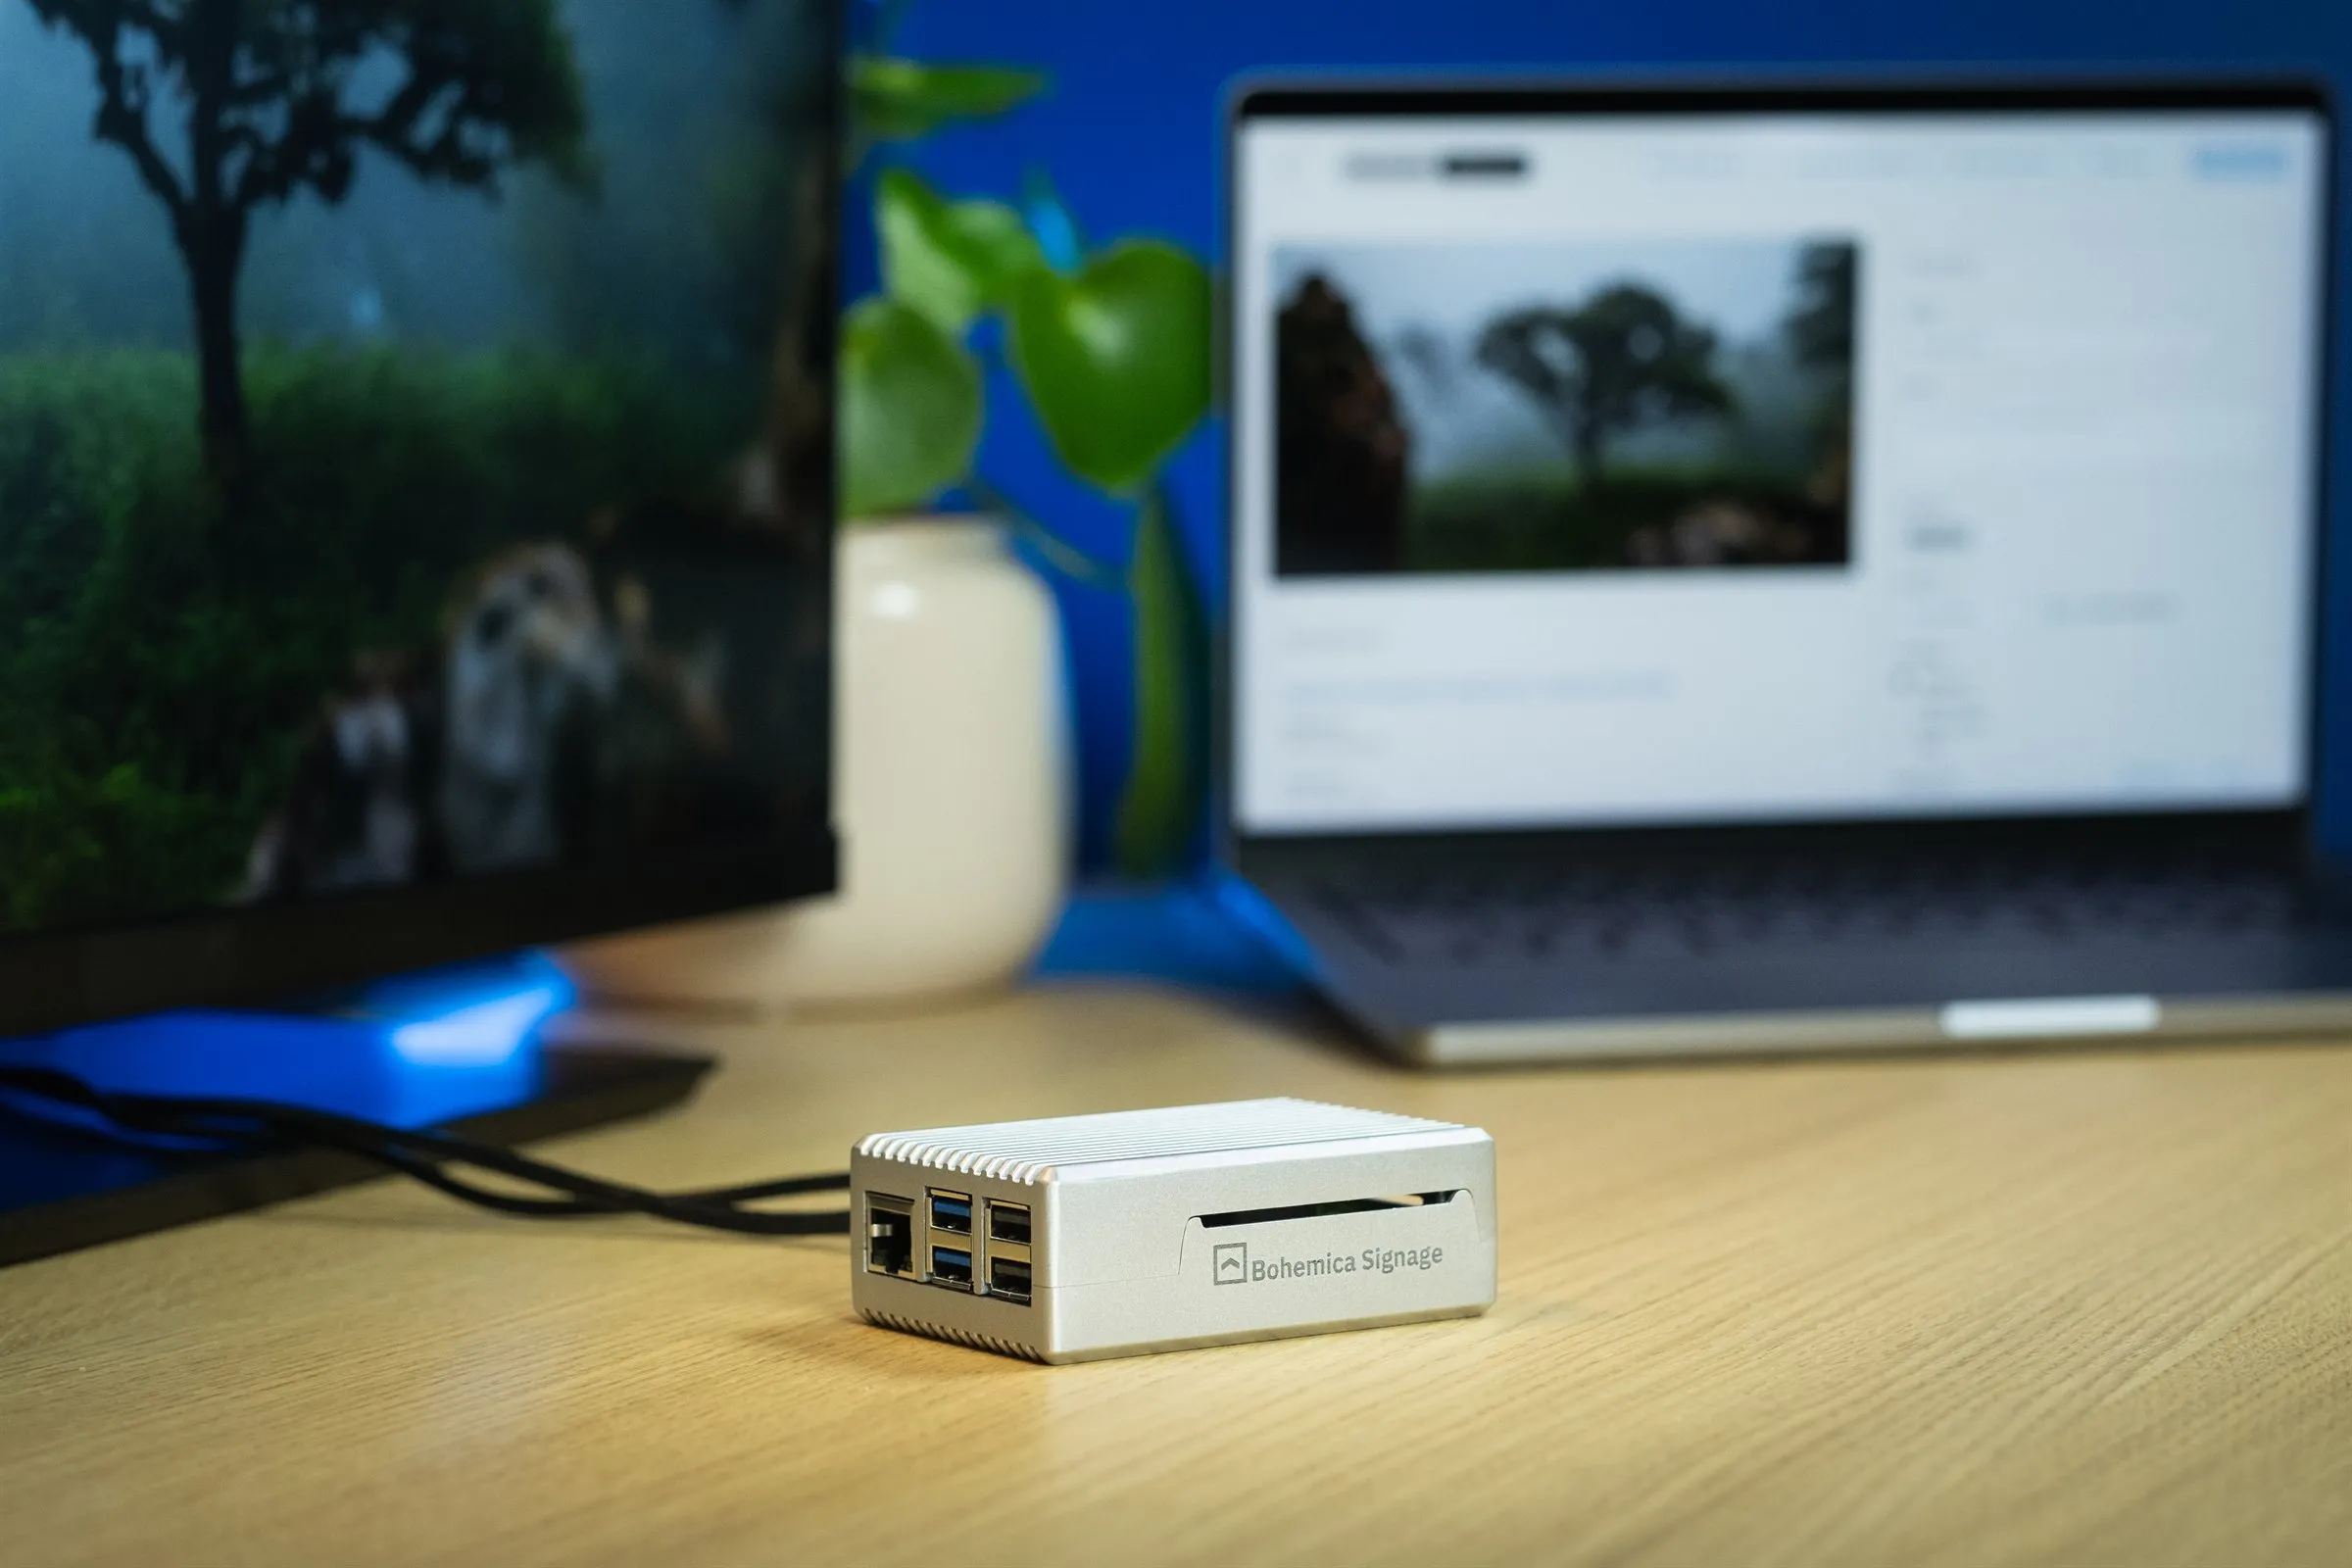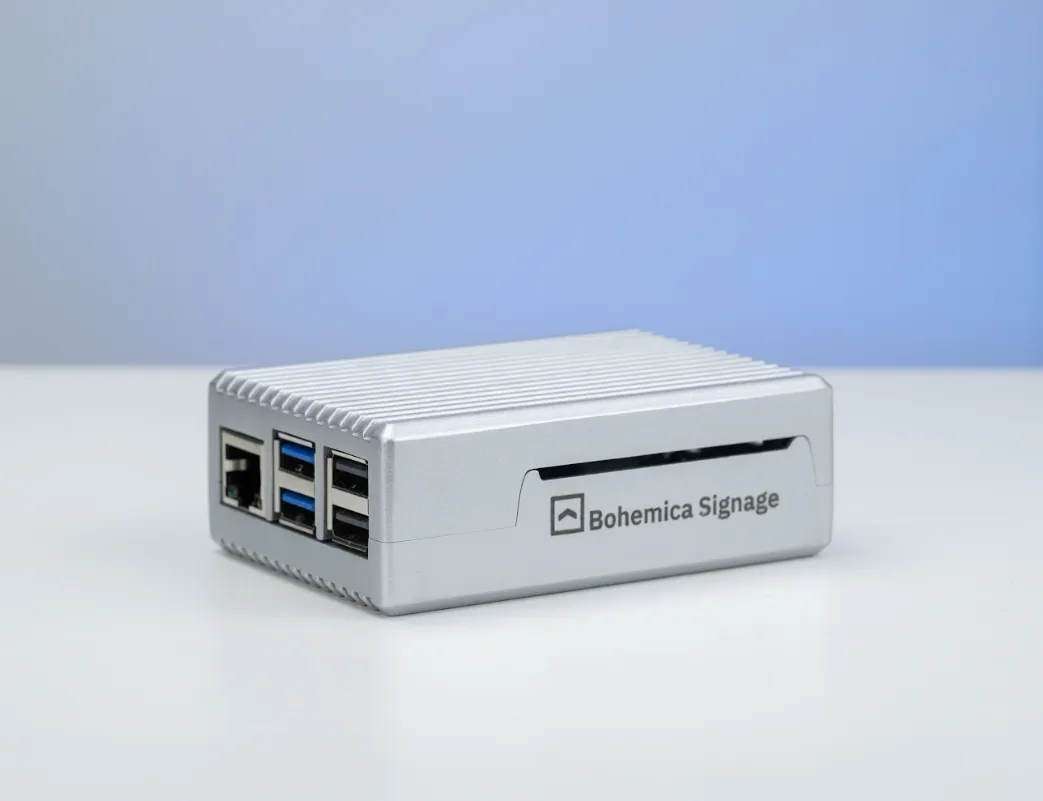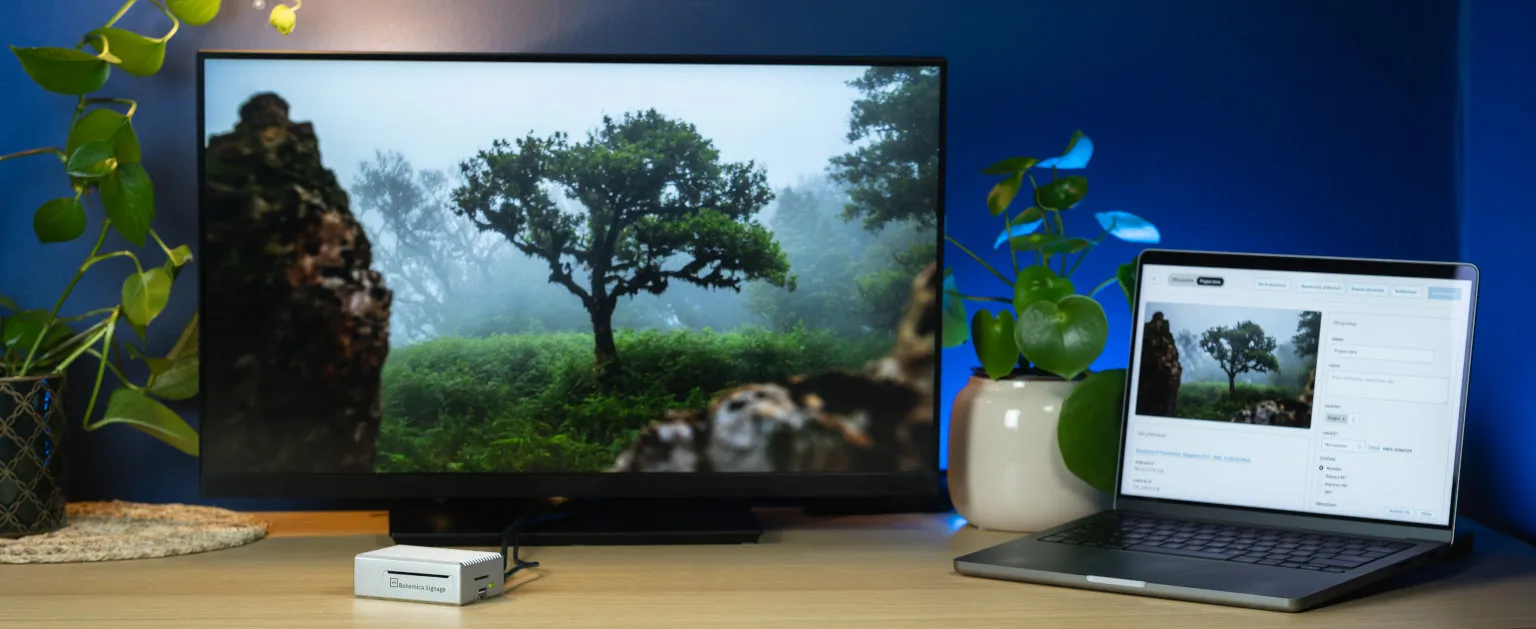
You don’t need a technician or special hardware to get your first screen running. A Raspberry Pi 5, a memory card and a screen with HDMI are enough. Most of the time goes into waiting for the card to be written or a video to upload. The actual work takes a few minutes, and the hour is an estimate with room to spare.
What you’ll need
- Raspberry Pi 5 - the 4 GB model is enough, 8 GB isn’t needed. If the player will only handle music and audio spots in a store, with no screen, the 2 GB model will do
- A durable microSD card of at least 32 GB, ideally an “endurance” line made for 24/7 security cameras, such as SanDisk Max Endurance, Samsung PRO Endurance, Kingston Endurance or WD Purple
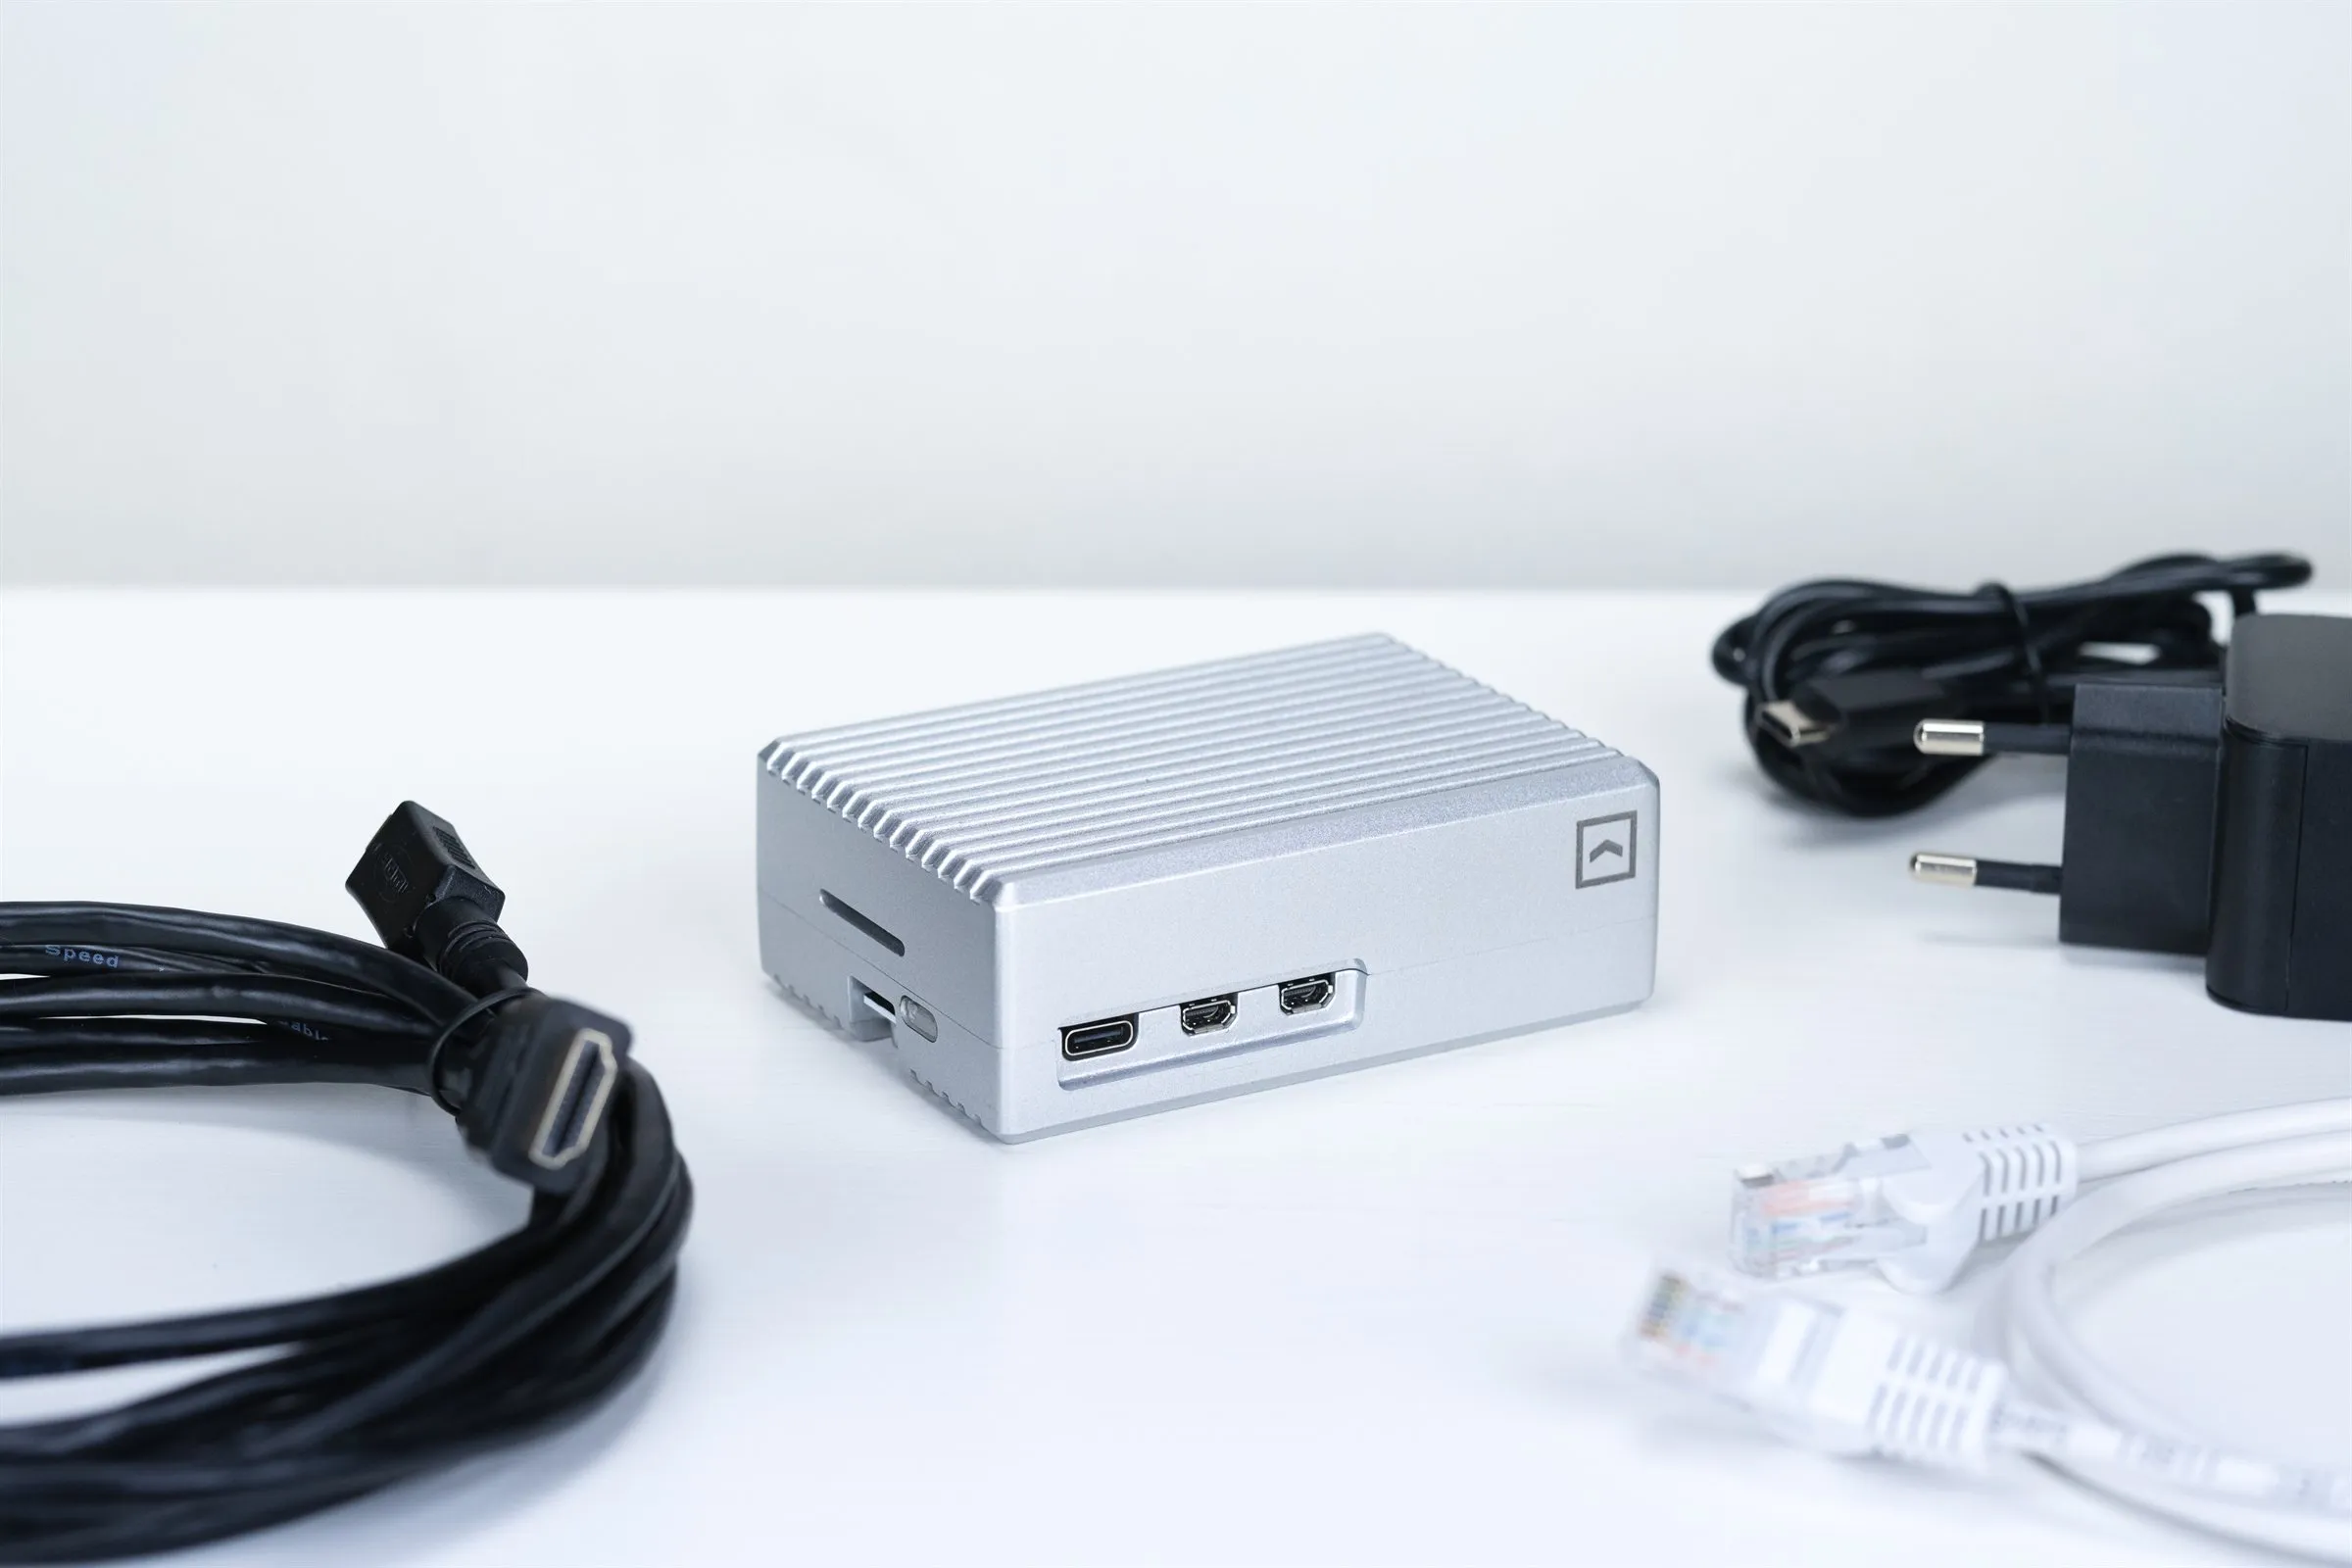
- The official USB-C power adapter (5.1 V, 5 A). A weaker phone charger is the most common cause of instability
- A case with cooling, since the player will run around the clock
- A micro-HDMI to HDMI cable. The Raspberry Pi 5 has micro-HDMI outputs, so a regular HDMI cable won’t fit
- A network cable. Wi-Fi works too, but a cable is more reliable
- A screen with an HDMI input: a TV, a monitor or a professional display
- A computer with a card reader to write the system image
- An account at app.bsgn.cc, the first screen is free
Step 1: Download the system image
On the Download page, choose Image for Raspberry Pi. Enter your email and the download link will arrive in your inbox right away. The image contains the operating system and the Bohemica Signage player, so there’s nothing else to install.
Step 2: Write the image to the SD card
We recommend the free tool balenaEtcher, which runs on Windows, macOS and Linux.
- Insert the microSD card into your computer’s card reader.
- Start balenaEtcher and click Flash from file. Choose the downloaded image.
- Under Select target, choose your SD card.
- Click Flash and wait until Etcher writes and verifies the card.
Step 3: Connect the player
- Insert the card into the Raspberry Pi.
- Plug in a network cable from your router or a network socket.
- Connect the Raspberry Pi to the screen with the micro-HDMI to HDMI cable.
- Plug in the power adapter last.
The Raspberry Pi has no power button. It starts as soon as it gets power, and the red and green LEDs light up.
Step 4: Wait for three words
On first boot, the player downloads the latest version of the app in the background. After a minute or two, three English words appear on the screen. That’s your player’s pairing code.
The code is tied to the hardware of that particular Raspberry Pi. If you later reformat the card and write the image again, the player reconnects to your account on its own.
Step 5: Pair the player with your account
- On your computer or phone, open app.bsgn.cc and log in. If you don’t have an account, create one.
- In the menu, click Screens and then New screen. Enter a name, such as “Entrance” or “Checkout 1”, and save.
- In the screen details, find the Device ID field and type in the three words from the screen.
The player is now yours. From here on you send it content from the dashboard, from anywhere.
Step 6: Upload content and create a playlist
- In the menu, click Media and then Add media. Choose files from your computer or phone.
- In the menu, click Playlists and then New playlist. Give it a name, such as “Summer campaign”.
- In the playlist details, click Add and choose media from the library.
- For videos, set the number of repeats. For images and web pages, set how long they stay on screen.
- In the Calendar tab, you can set which days and hours the playlist should run.
The player shows images (JPG, PNG), videos (MP4), web pages (URL) and audio (MP3, WAV). When you upload a video, you can have it converted into several quality levels, so each screen gets a version it plays smoothly. It’s optional, but we recommend it.
For a Full HD screen, prepare content at 1920 × 1080 px in landscape or 1080 × 1920 px in portrait, always with a 16:9 aspect ratio. Longer videos take longer to upload, and that mostly depends on the speed of your connection.
Step 7: Send the playlist to the screen
- In the menu, click Screens and choose the one you just paired.
- Click Assign playlist and choose your playlist.
- Click Save.
The player downloads the content and starts playing it. Done.
No cable available: connecting over Wi-Fi
We always recommend a wired connection. But if you can’t run a cable there, or you’re just trying the product out, connect the player to Wi-Fi:
- Connect a keyboard and mouse to the Raspberry Pi.
- Press Esc to close the player app.
- Click the connection icon in the top right corner of the screen.
- Choose your Wi-Fi network and enter the password.
- Restart the player by unplugging the power and plugging it back in.
The player remembers the network and reconnects to it on its own after a restart.
When something doesn’t work
- The three words don’t appear, even after a few minutes. The player needs internet on first boot. Check the network cable and make sure the network doesn’t require signing in through a web page, as hotel networks often do. If that doesn’t help, write the card again.
- The screen stays black. Check that the HDMI cable is plugged in properly and that the screen is set to the right input.
- The player restarts or freezes on its own. This is most often a weak power adapter. Use the official 5.1 V / 5 A supply.
- The screen shows as offline in the dashboard. Check the network connection. Unplugging the power and plugging it back in often helps.
- Content isn’t playing. Check that the playlist contains media, is assigned to the screen or its group, and that the calendar allows playback right now.
The player keeps content stored offline. If the internet goes down, it keeps playing what it has already downloaded.
What’s next
Every further screen is set up the same way, only without the learning curve, so it takes a few minutes. The Raspberry Pi 5 handles Full HD content reliably and can drive two screens. If you need 4K, we recommend an ASUS NUC player; you’ll find its system image on the same Download page.
All features are available from the first screen, which is free. Further screens are billed monthly by their number; see the pricing for details.
Stuck, or planning several screens at once? Write to us at [email protected] or use the contact form. You’ll get an answer straight from the development team.